Methods for Stripping Paint from Cabinets

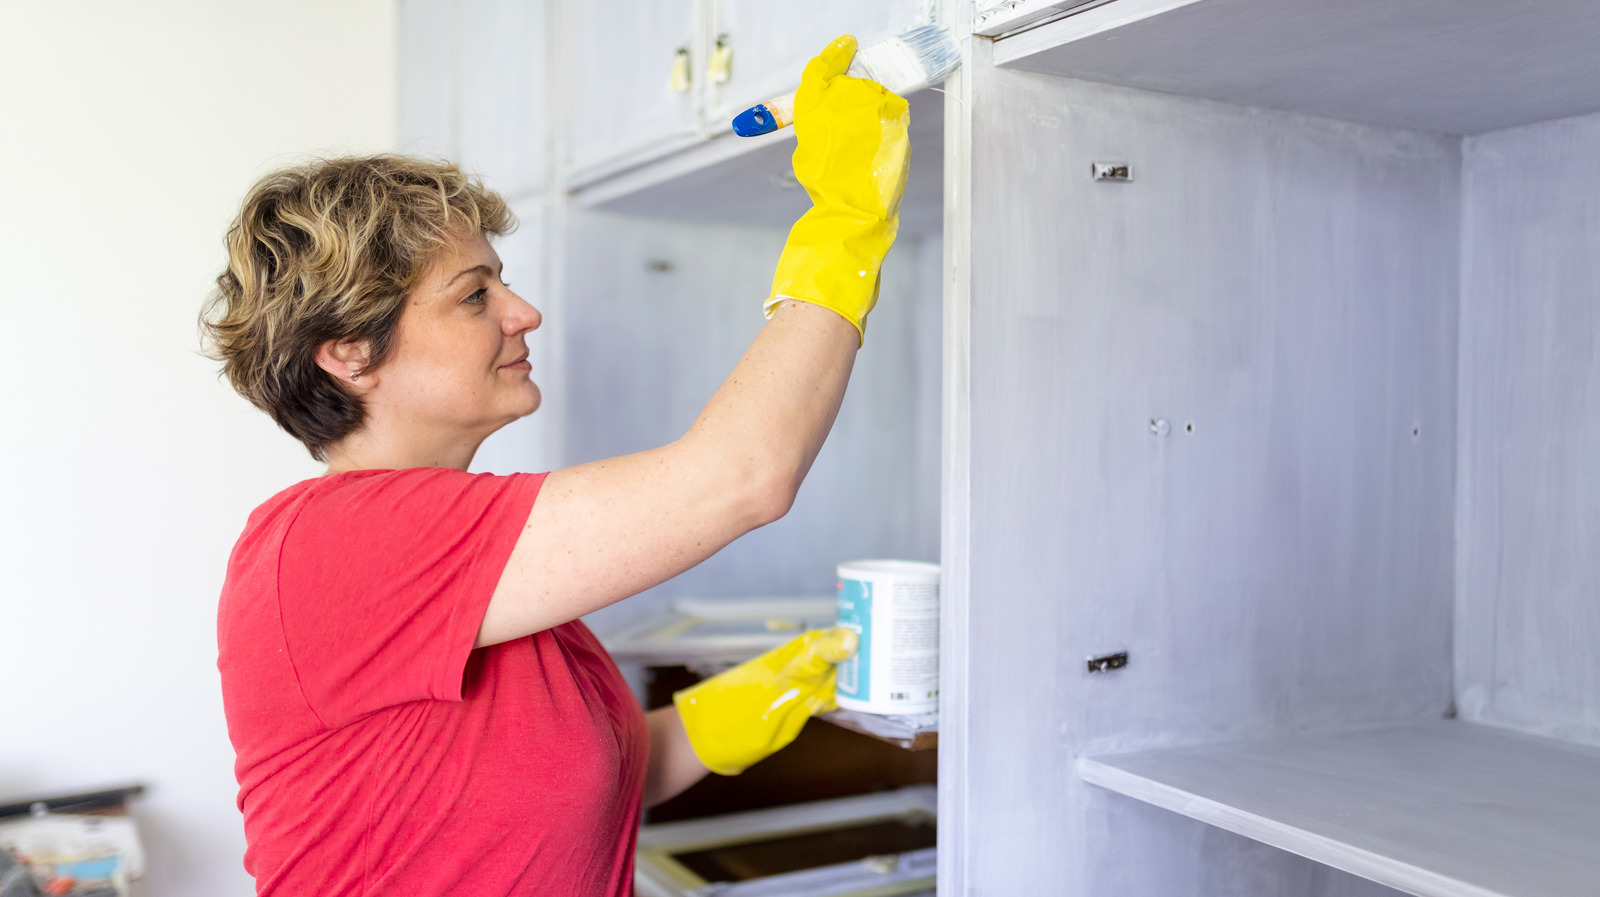
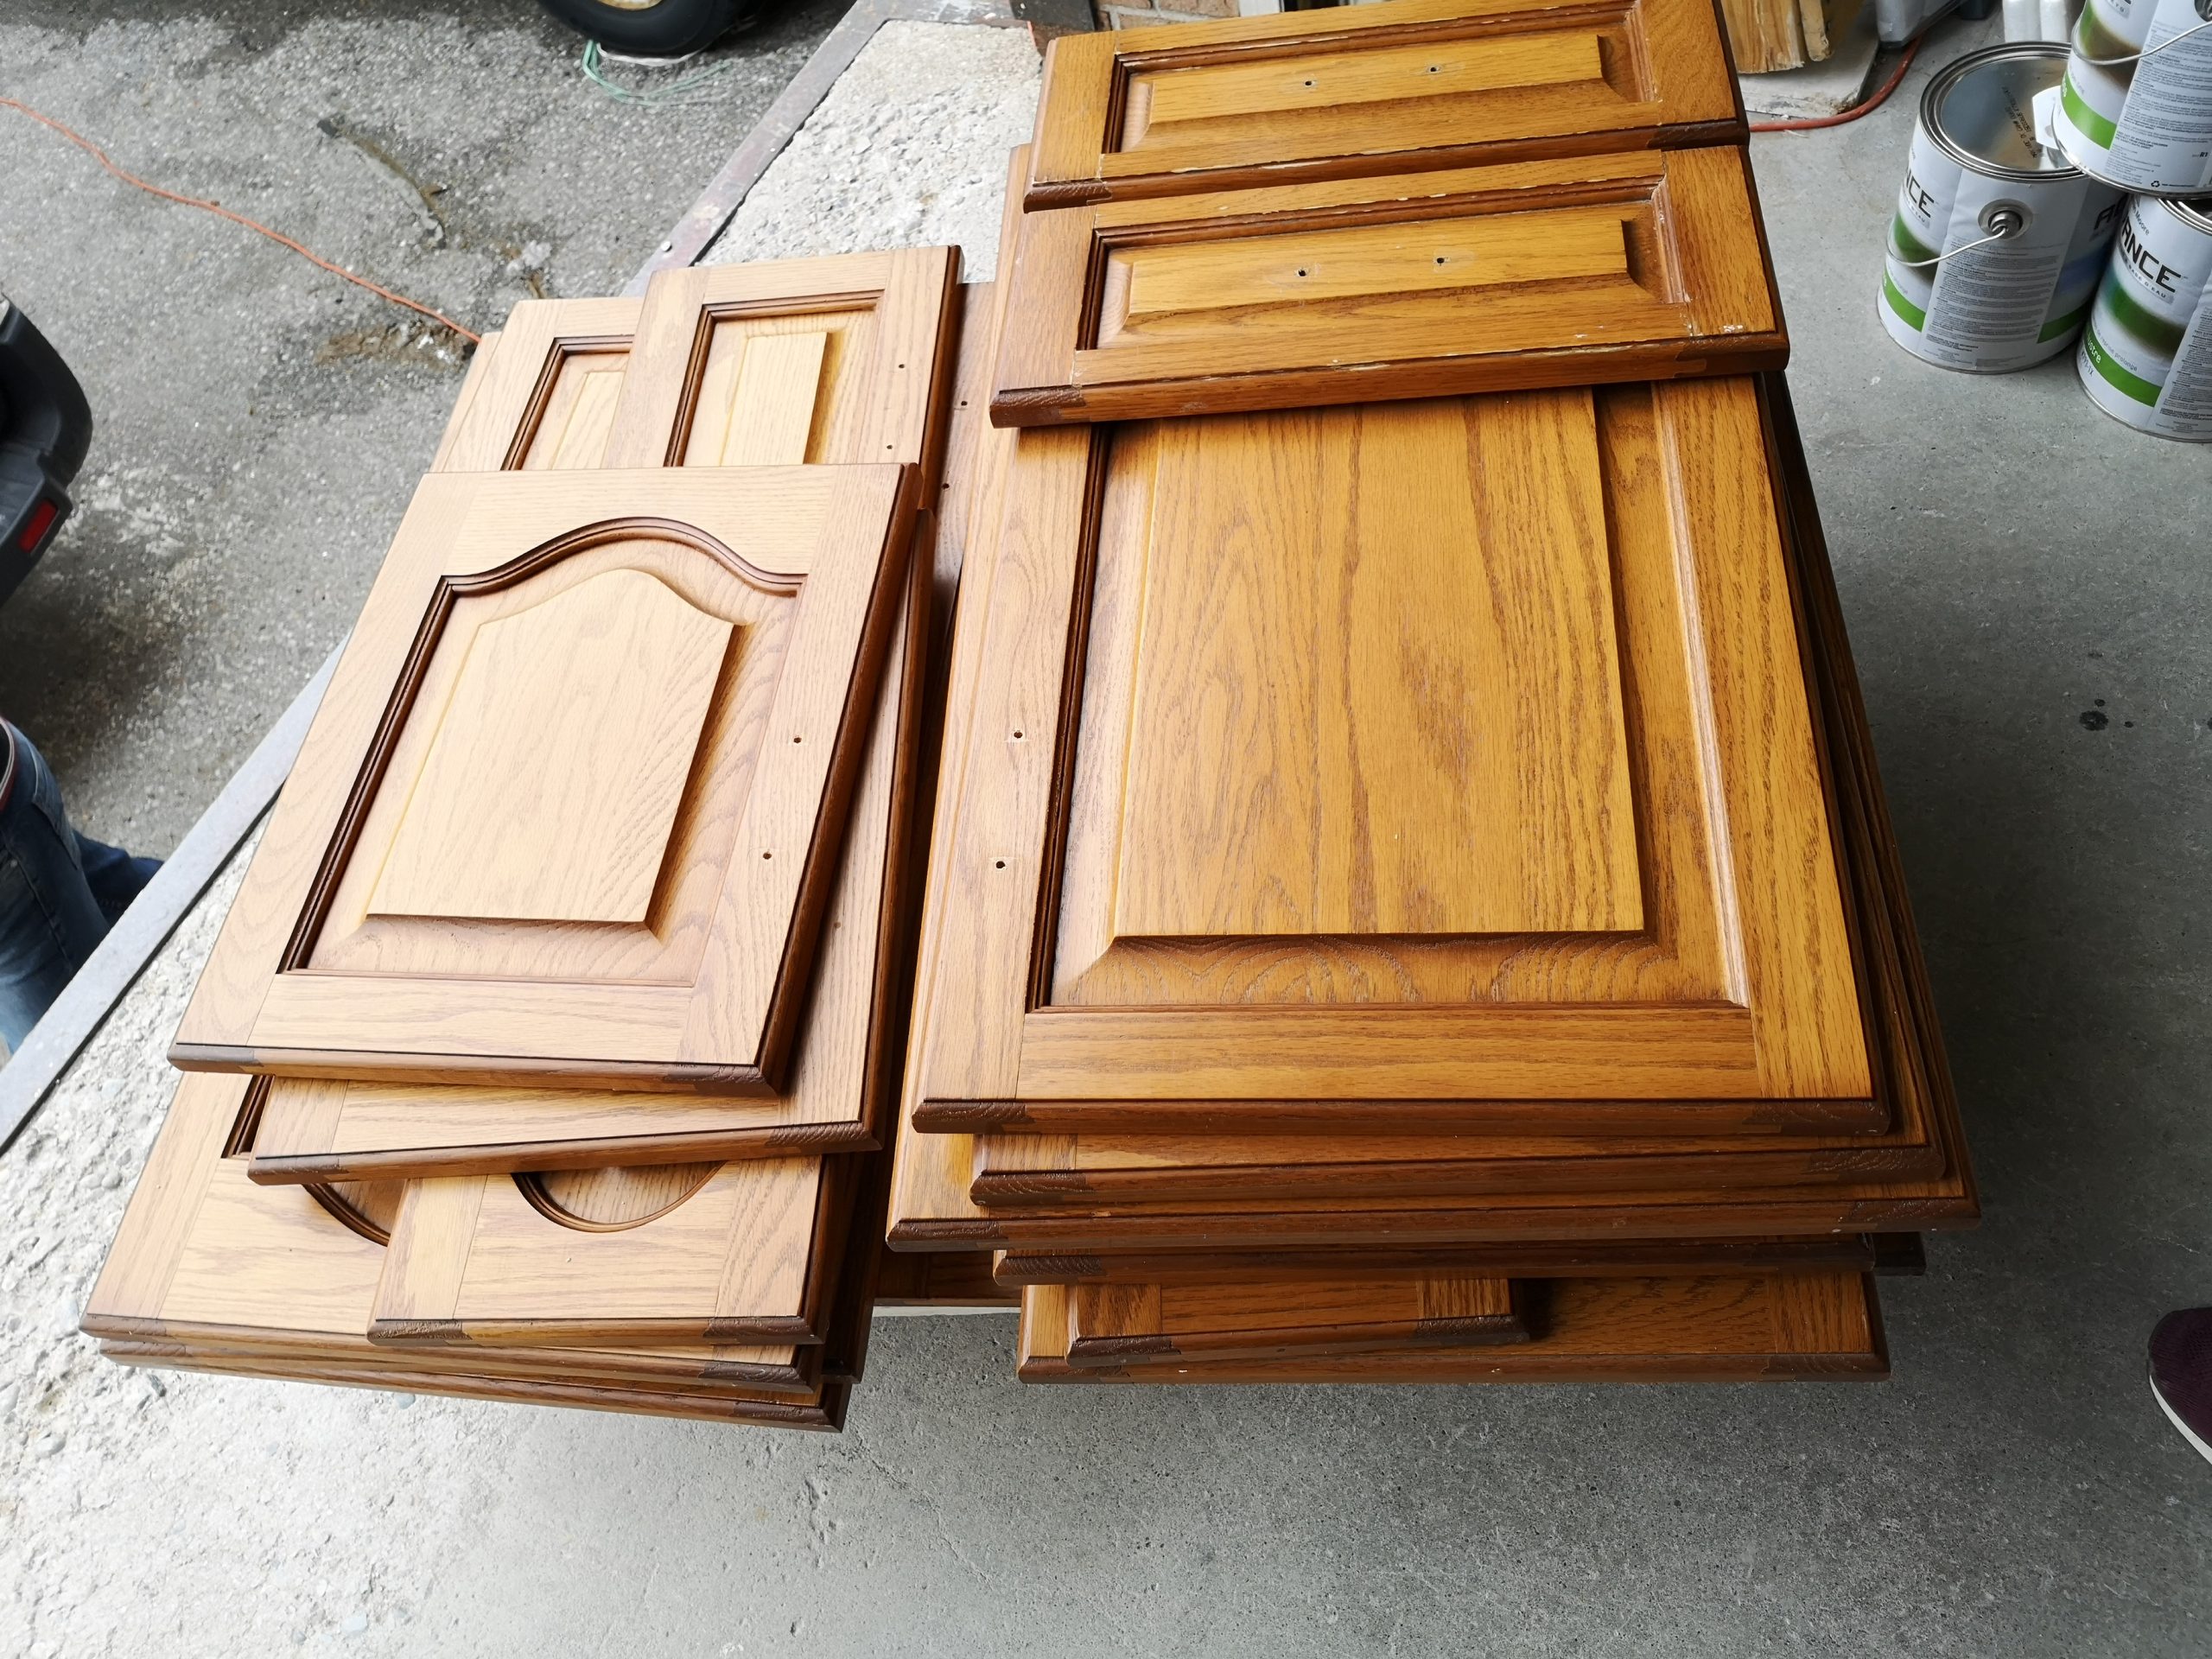
Removing paint from kitchen cabinets can be a rewarding project, revealing the beautiful wood underneath and updating your kitchen’s aesthetic. Several methods exist, each with its own advantages and disadvantages. Choosing the right method depends on factors like the type of paint, the extent of the paint layers, and your comfort level with different tools and techniques. Let’s explore the most common options.
Chemical Paint Strippers
Chemical paint strippers are effective for removing multiple layers of paint, including stubborn finishes like enamel or lacquer. They work by dissolving the paint, allowing it to be scraped away. The most common types are methylene chloride-based and less-toxic alternatives. Methylene chloride strippers are potent but require careful handling due to their strong fumes and potential health risks. Less-toxic options, often employing citrus solvents, are gentler but may require multiple applications for thick paint layers.
Advantages: Effective on multiple layers, relatively easy to apply, can reach intricate details.
Disadvantages: Strong fumes (especially methylene chloride-based), can damage wood if left on too long, requires careful handling and disposal, may require multiple applications.
Heat Guns, Stripping paint from cabinets
Heat guns soften the paint, allowing it to be scraped off. This method is quick and efficient for large, flat surfaces but requires more skill and precision to avoid burning the wood. A steady hand and careful monitoring of the wood’s temperature are crucial.
Advantages: Fast and efficient for large areas, minimal chemical exposure.
Disadvantages: Requires skill and precision to avoid burning the wood, may not be effective on all types of paint, can produce fumes.
Sanding
Sanding is a labor-intensive method, best suited for removing thin layers of paint or for final smoothing after using another paint removal method. It requires various grits of sandpaper, starting with coarser grits for initial removal and gradually moving to finer grits for a smooth finish. This method is physically demanding and can produce a lot of dust.
Advantages: No harsh chemicals, relatively safe.
Disadvantages: Labor-intensive, time-consuming, generates dust, can damage the wood if not done carefully.
Step-by-Step Guide: Using Chemical Paint Stripper on Kitchen Cabinets
This guide details the safe and effective use of chemical paint stripper on kitchen cabinets. Remember to always work in a well-ventilated area and wear appropriate personal protective equipment (PPE).
| Step | Action | Material | Safety Note |
|---|---|---|---|
| 1 | Prepare the work area. Cover surfaces with drop cloths. | Drop cloths, painter’s tape | Ensure adequate ventilation. |
| 2 | Apply the stripper according to the manufacturer’s instructions. | Chemical paint stripper, paintbrush or putty knife | Wear gloves, eye protection, and a respirator. |
| 3 | Allow the stripper to dwell as instructed on the product label. | Timer | Do not let the stripper dry on the surface. |
| 4 | Scrape away the softened paint with a plastic scraper. | Plastic scraper, steel wool | Avoid damaging the wood. |
| 5 | Neutralize the stripper according to the manufacturer’s instructions. | Neutralizing solution (if required) | Follow instructions carefully. |
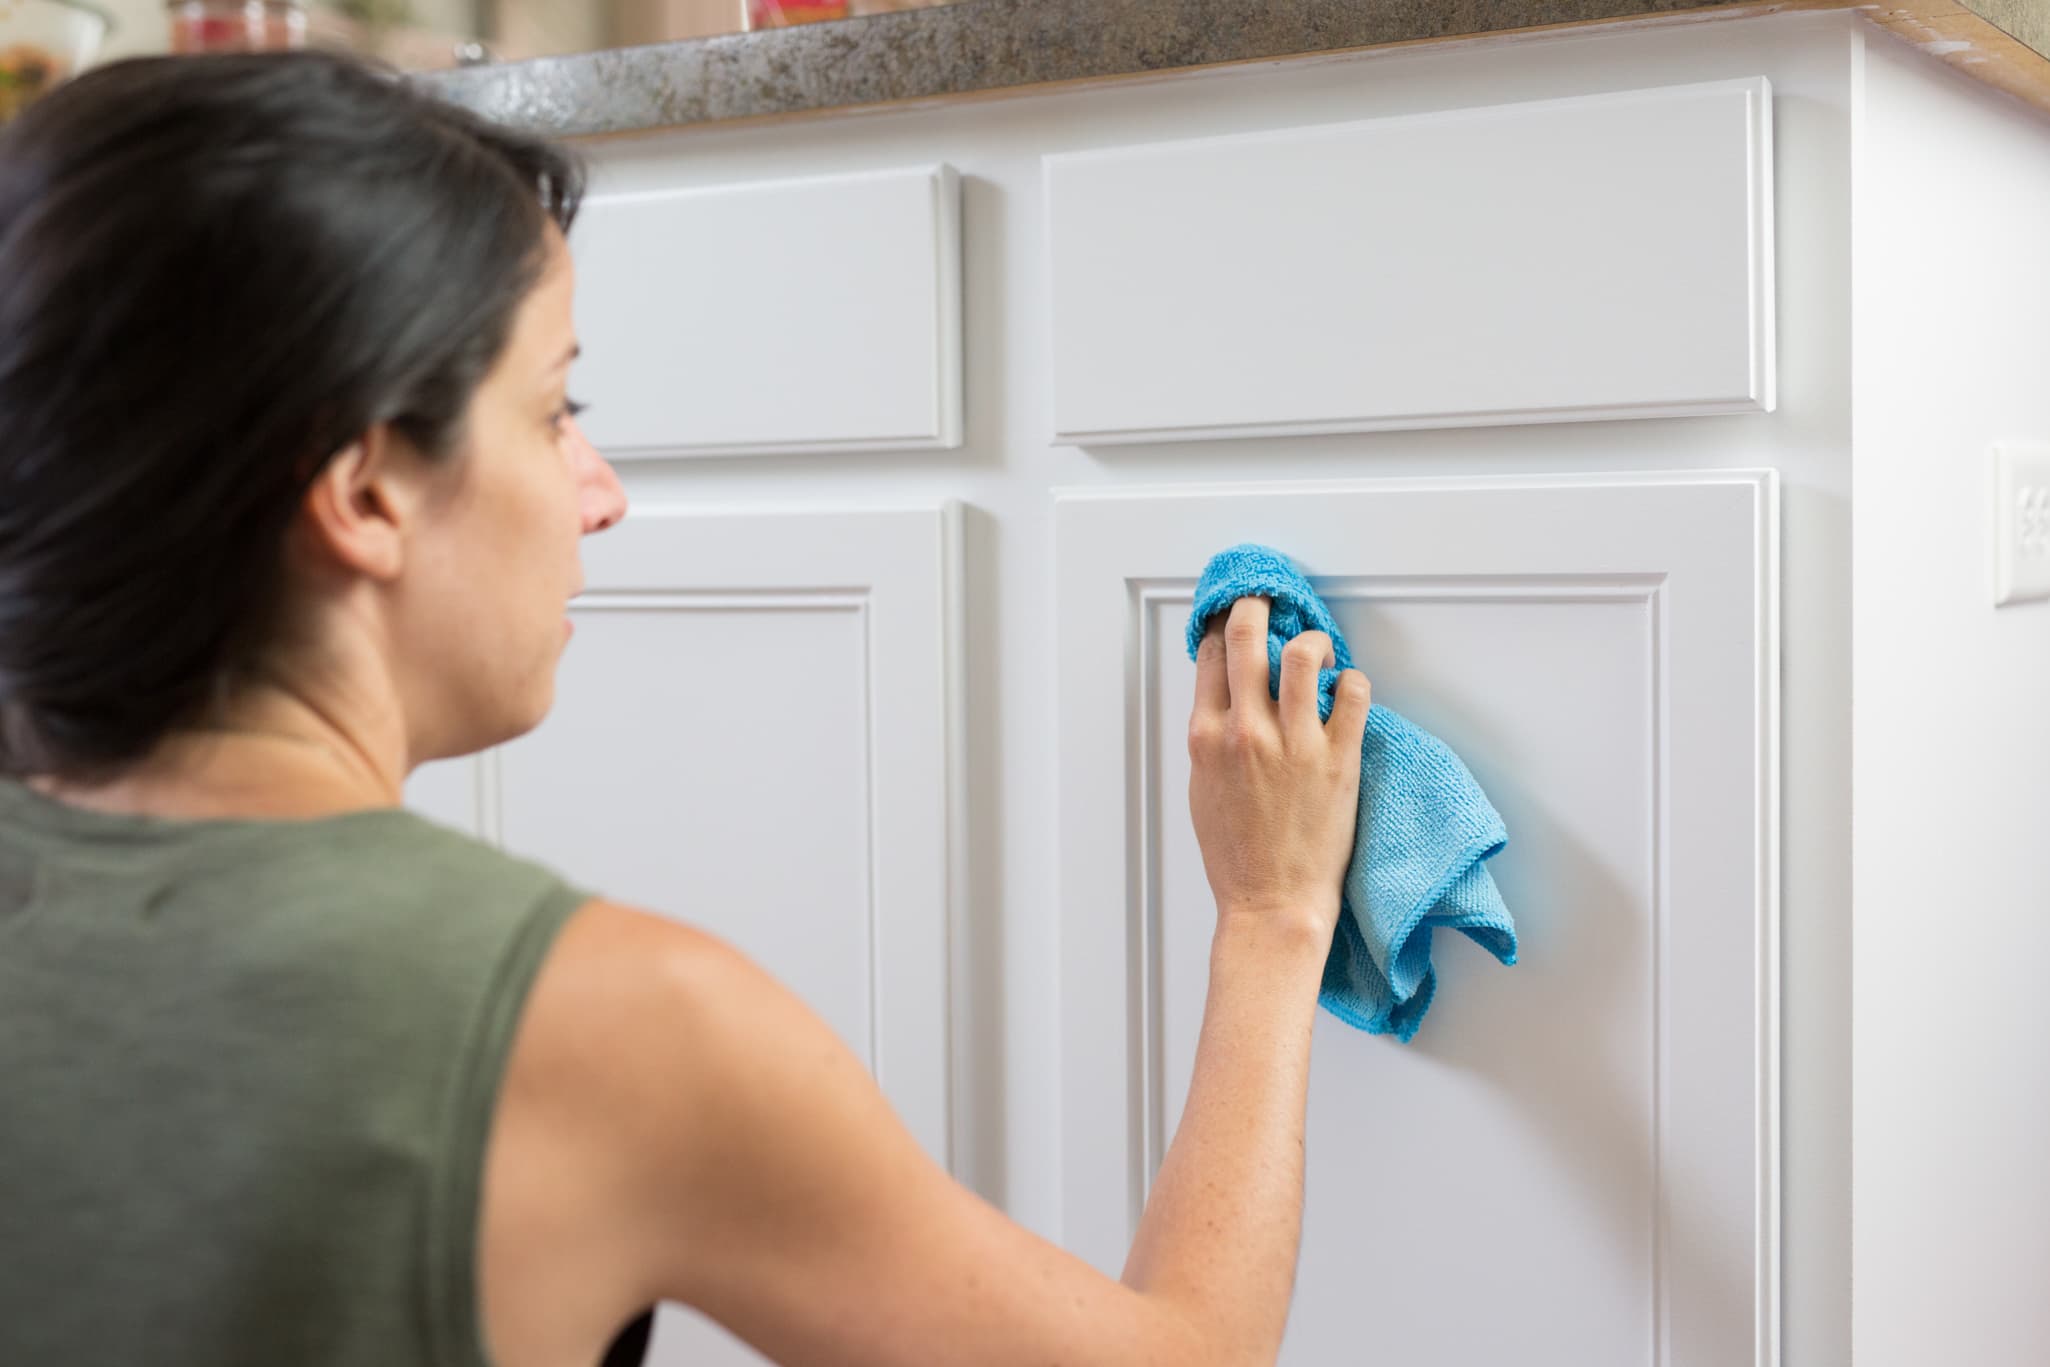
| 6 | Clean the cabinets thoroughly with a damp cloth. | Damp cloth | Remove all traces of stripper. |
| 7 | Dispose of the stripper and related materials properly according to local regulations. | Waste containers | Never pour stripper down the drain. |
Using a Heat Gun to Remove Paint from Cabinets
Using a heat gun requires precision and control. Imagine the heat gun as a focused stream of hot air. The goal is to gently heat the paint until it blisters, making it easy to scrape away. Hold the heat gun approximately 6-8 inches from the surface, moving it constantly to avoid overheating any one area. The paint should bubble and blister, indicating it is ready to be scraped. A dull scraper, such as a plastic putty knife, is ideal to prevent gouging the wood. The process should resemble a slow, deliberate unveiling of the wood beneath. Visualize the paint softening and lifting as you move the heat gun, allowing the scraper to effortlessly remove the loosened paint. Always monitor the wood’s temperature to prevent scorching or burning. Regularly inspect the area for signs of discoloration or charring, immediately ceasing the process if any are observed. If the wood begins to darken, reduce the heat and distance from the surface or stop completely.
Preparing Cabinets for Repainting After Stripping

Now that the arduous task of paint removal is complete, you’re ready to embark on the rewarding phase of preparing your cabinets for their stunning transformation. Proper preparation is key to achieving a smooth, durable, and beautiful finish that will last for years. This section details the crucial steps involved in getting your stripped cabinets ready for their new coat of paint.
Cleaning Stripped Cabinet Surfaces
Thorough cleaning is essential to remove any remaining paint residue, dust, and debris from the stripped wood. Failure to do so will compromise the adhesion of the primer and paint, leading to a less-than-perfect finish. A clean surface ensures optimal bonding and a professional-looking result.
- Begin by using a tack cloth or a slightly damp cloth to wipe down all surfaces, removing any loose particles.
- For stubborn residue, consider using a mild detergent solution and a soft brush. Rinse thoroughly with clean water and allow to dry completely.
- Inspect the wood carefully for any remaining paint chips or imperfections. Gently scrape away any remaining bits with a putty knife or scraper.
Sanding Stripped Cabinet Surfaces
Sanding creates a smooth surface, essential for paint adhesion and a professional finish. The goal is not to remove significant amounts of wood, but to level the surface and create a uniform texture for the primer to adhere to. Different grits of sandpaper are used for different stages.
- Start with a coarser grit sandpaper (around 120-grit) to remove any remaining imperfections or raised grain.
- Gradually move to finer grits (180-grit, then 220-grit) to smooth the surface further. Always sand in the direction of the wood grain to avoid scratches.
- After each sanding stage, use a tack cloth to remove dust before proceeding to the next finer grit.
Wood Filler Selection and Application
After stripping paint, imperfections like dents, scratches, and holes may become visible. Choosing the right wood filler is crucial for a seamless repair. Oil-based fillers are often preferred for their durability and ability to be sanded smooth, but water-based options are also available.
- Common Imperfections: Scratches, gouges, nail holes, knot holes, and minor dents.
- Filler Application: Apply the filler using a putty knife, pressing it firmly into the imperfection. Remove excess filler with the knife, ensuring the surface is level with the surrounding wood.
- Drying Time: Allow the filler to dry completely according to the manufacturer’s instructions. This usually involves several hours.
- Sanding: Once dry, sand the filled areas smooth using progressively finer grits of sandpaper, matching the surrounding surface.
Primer Selection and Application
Primers are crucial for creating a uniform surface for the topcoat, improving adhesion, and blocking stains or tannins in the wood. The type of primer you choose depends on the type of wood and the type of paint you’ll be using.
- For Knotty Wood: A shellac-based primer is recommended to seal knots and prevent bleed-through of tannins.
- For Softwoods: A stain-blocking primer is beneficial to prevent the wood grain from showing through the topcoat.
- For Hardwoods: A standard oil-based or water-based primer is usually sufficient.
- For Oil-Based Paints: Use an oil-based primer.
- For Water-Based Paints: Use a water-based primer.
- Application: Apply a thin, even coat of primer using a brush, roller, or spray gun. Allow to dry completely according to the manufacturer’s instructions. Multiple coats may be necessary for optimal coverage.
Advanced Techniques and Considerations

Stripping paint from cabinets can be a rewarding project, revealing beautiful wood underneath. However, the process isn’t always straightforward. Understanding potential challenges and employing advanced techniques will significantly improve your results and minimize frustration. This section will delve into problem-solving, paint stripper comparisons, and safe disposal procedures.
Potential Problems and Solutions During Paint Stripping
Several issues can arise during cabinet paint stripping. Incomplete paint removal is common, often leaving behind stubborn patches or a hazy film. This can be caused by insufficient soaking time, improper application of the stripper, or the use of an inappropriate stripper for the type of paint. Solutions include reapplying the stripper and allowing longer dwell time, using a more aggressive stripper, or employing mechanical methods like scraping or sanding (carefully!) after the initial stripping. Another significant problem is damage to the wood. Aggressive scraping or the use of overly harsh chemicals can gouge or scratch the cabinet surfaces. Preventing this requires careful technique, using soft scrapers, and avoiding excessive force. If damage does occur, wood filler can be used to repair minor imperfections before refinishing. Finally, some paints are extremely difficult to remove, requiring multiple applications of stripper and significant patience.
Comparison of Chemical Paint Strippers
Chemical paint strippers come in various formulations, each with strengths and weaknesses. Methyl chloride-based strippers are very effective, particularly on multiple layers of paint, but they are highly toxic and require meticulous safety precautions. Methylene chloride-based strippers offer a good balance of effectiveness and relative safety, although they still require careful handling and ventilation. Citric acid-based strippers are a more environmentally friendly option, generally safer and less toxic, but they are less effective on certain paint types, such as oil-based paints and multiple layers. The choice of stripper depends heavily on the type of paint on the cabinets (oil-based, latex, lacquer, etc.) and the number of layers. Testing a small, inconspicuous area first is crucial to determine the best approach and to assess the stripper’s impact on the wood finish.
Safe Disposal of Paint Stripper and Hazardous Materials
Proper disposal of paint stripper and other waste materials is critical for environmental protection and personal safety. The following steps Artikel a safe disposal procedure:
- Neutralize the Stripper: Many paint strippers require neutralization before disposal. Check the product label for specific instructions. This often involves mixing the spent stripper with a neutralizing agent, such as baking soda and water, to reduce its toxicity.
- Collect Waste Properly: Gather all spent stripper, paint chips, and other waste materials in tightly sealed containers. Avoid mixing different types of waste.
- Label Containers Clearly: Clearly label all containers with the contents and any relevant hazard warnings.
- Contact Local Waste Management: Contact your local waste management authority or a hazardous waste disposal facility to inquire about proper disposal methods in your area. They will provide guidance on where and how to dispose of the hazardous materials.
- Never Pour Down the Drain or into the Garbage: This is crucial to prevent environmental contamination and potential health hazards.
